news
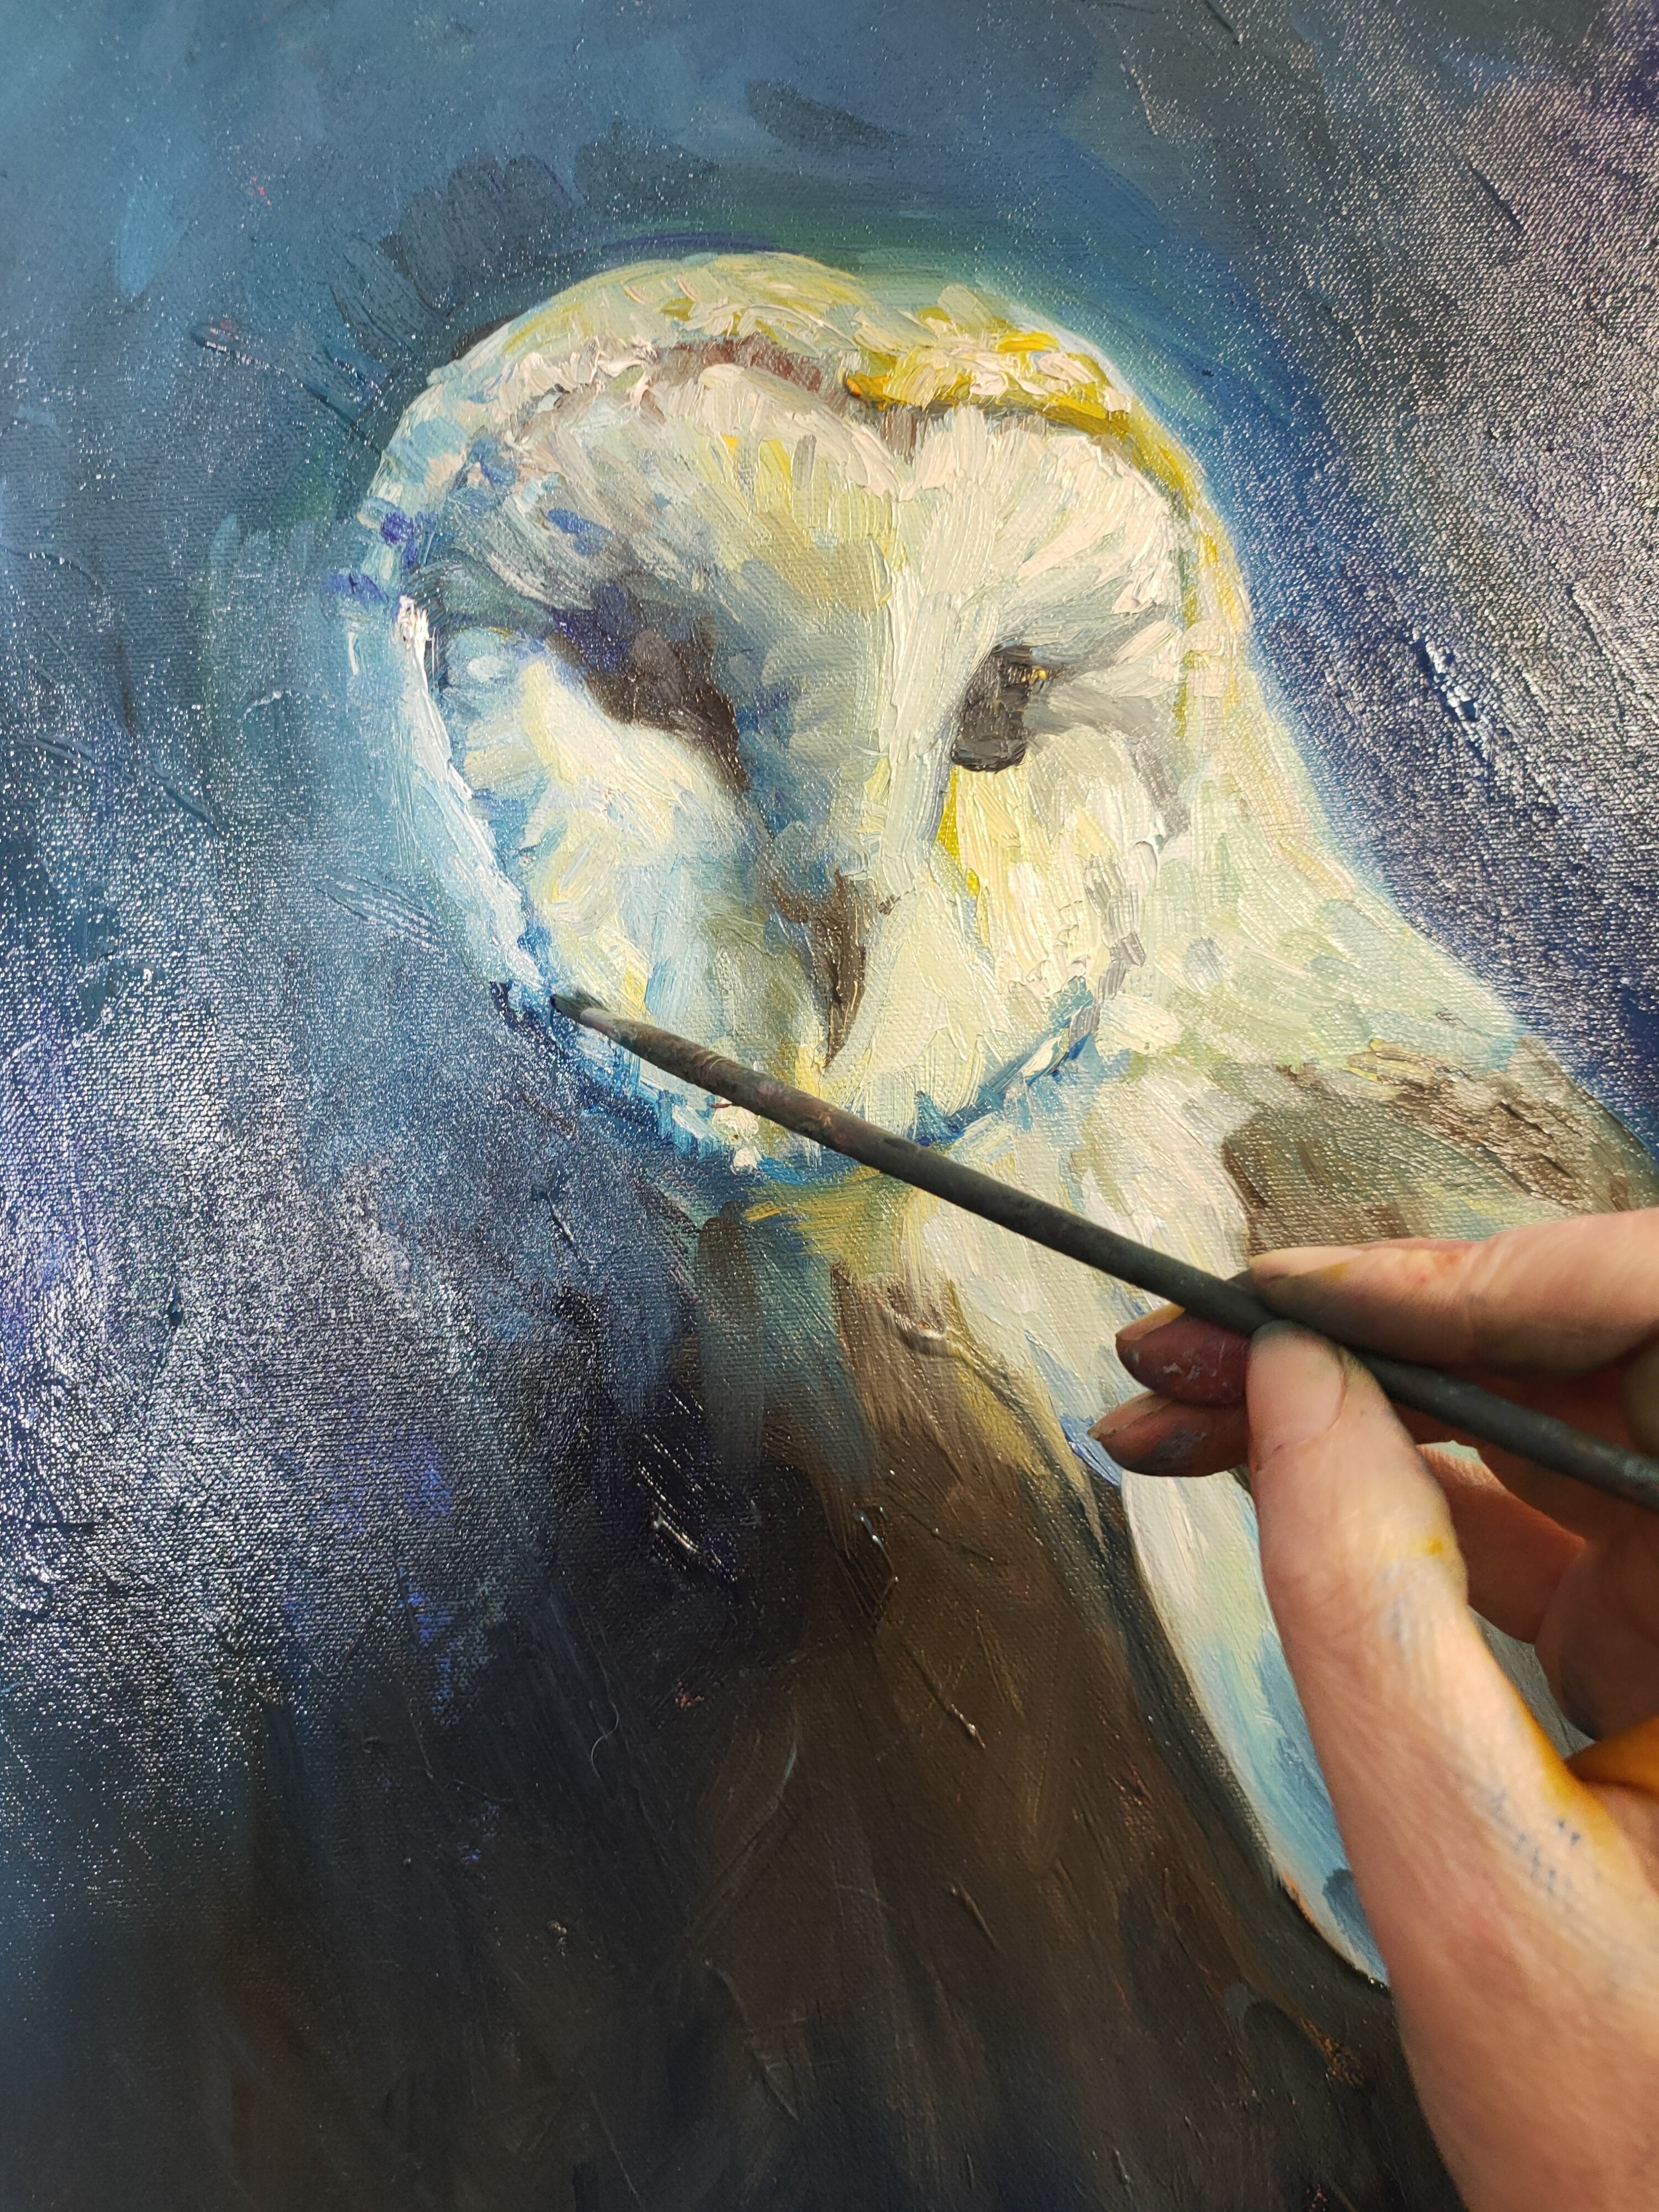
Painting in progress - colourful sunset owl!
New Owl Painting
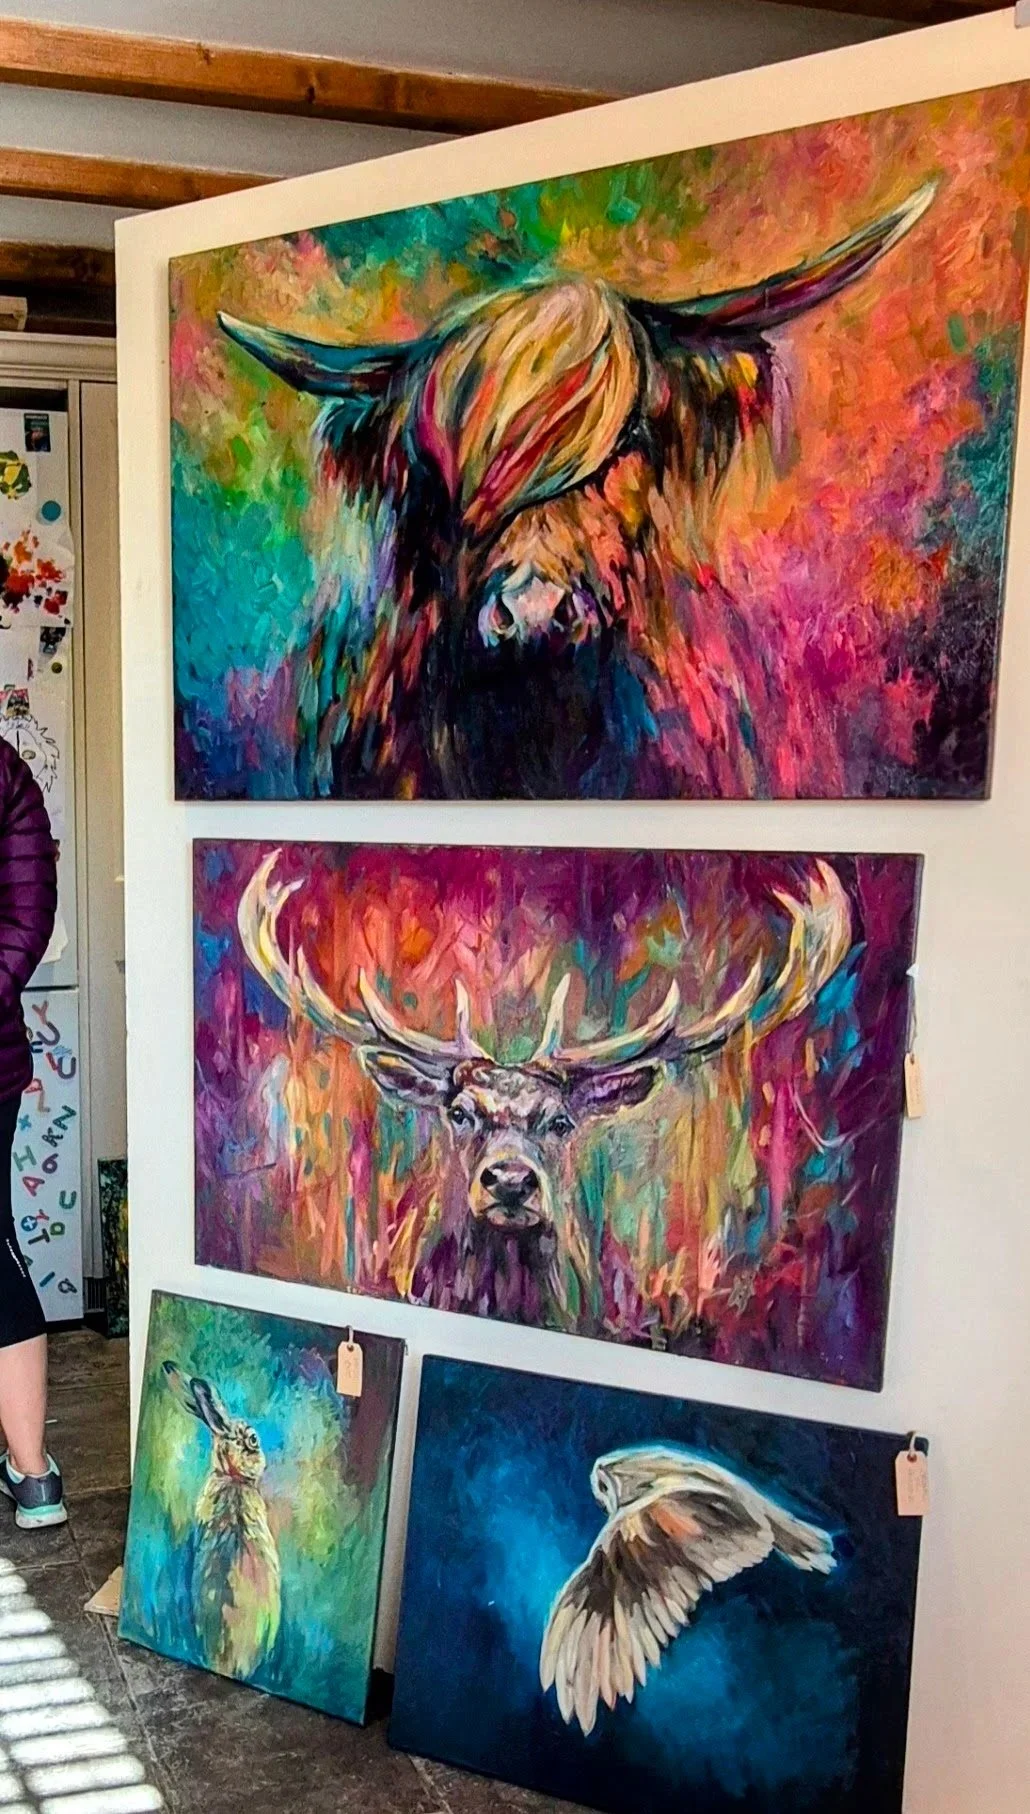
This is the painting that I was demonstrating at the Atkins Gallery this week. Almost finished, I will see whan I go an collect him, whether he needs any more work. I love the colours in this piece. Hope you do too.
The first of two new paintings of Barn Owls in progress this week.
I enjoy creating paintings of Barn Owls so much, I decided to make a couple more, they are such beautiful birds, and quite haunting too!
New Barn Owl Paintings
I enjoy creating paintings of Barn Owls so much, I decided to make a couple more, they are such beautiful birds, and quite haunting too!
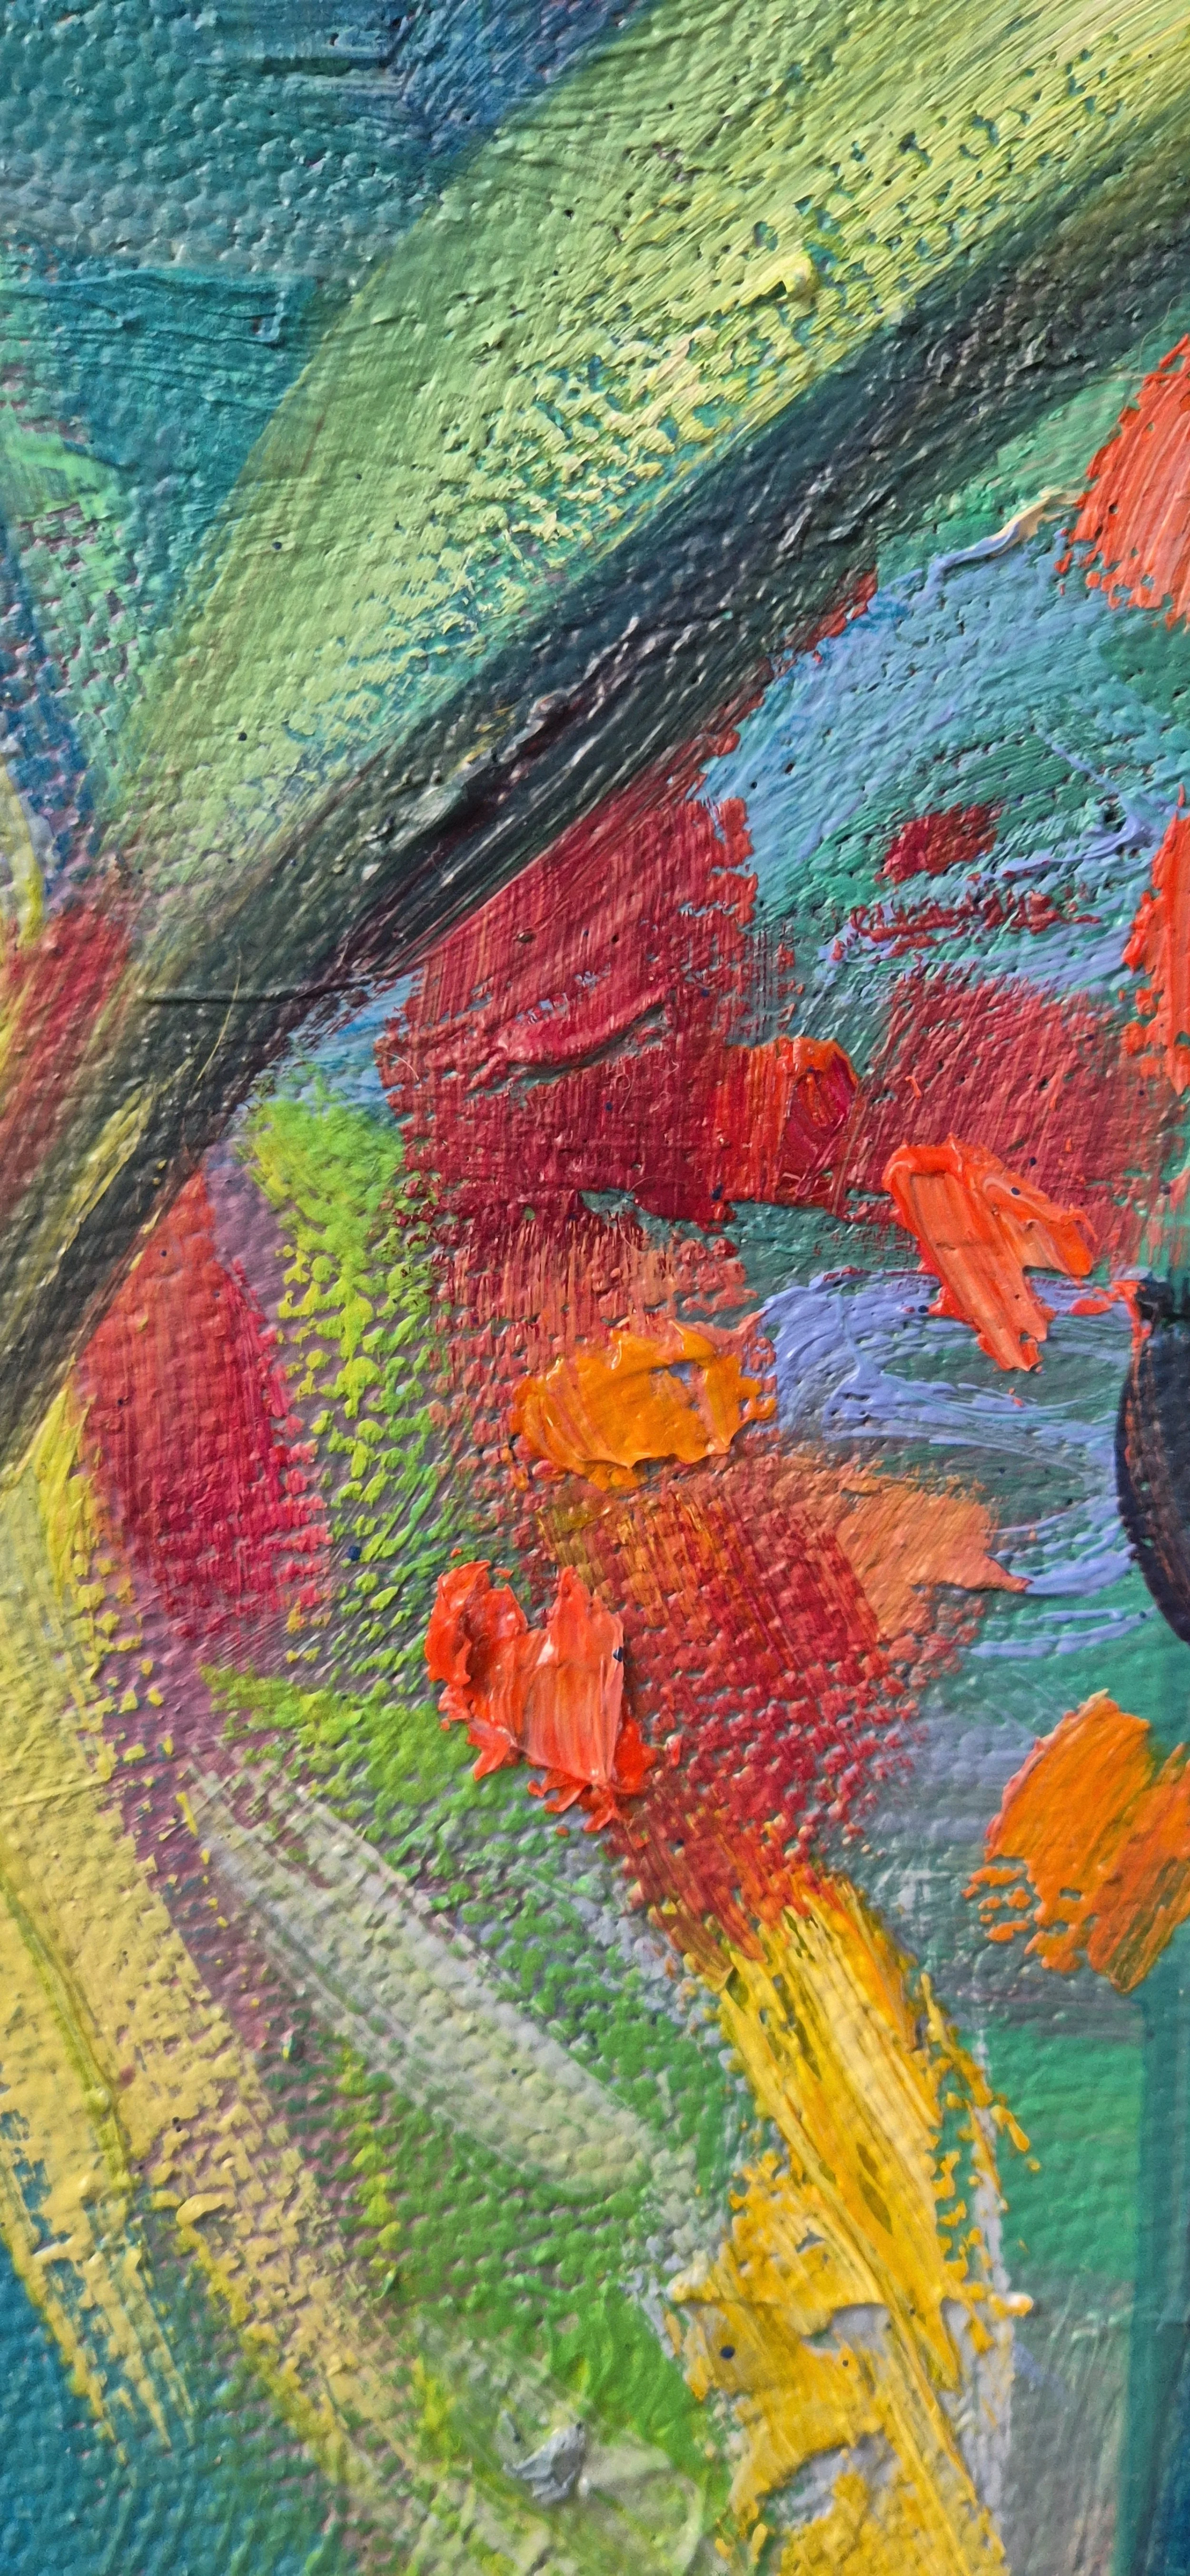
I am creating this piece on a textured ground, as I love painting over a ‘bumpy’ surface, the textured effect of the finished painting. This piece will have the effect of the owl emerging from the dark, the second piece is similar, with the addition of a starry sky.
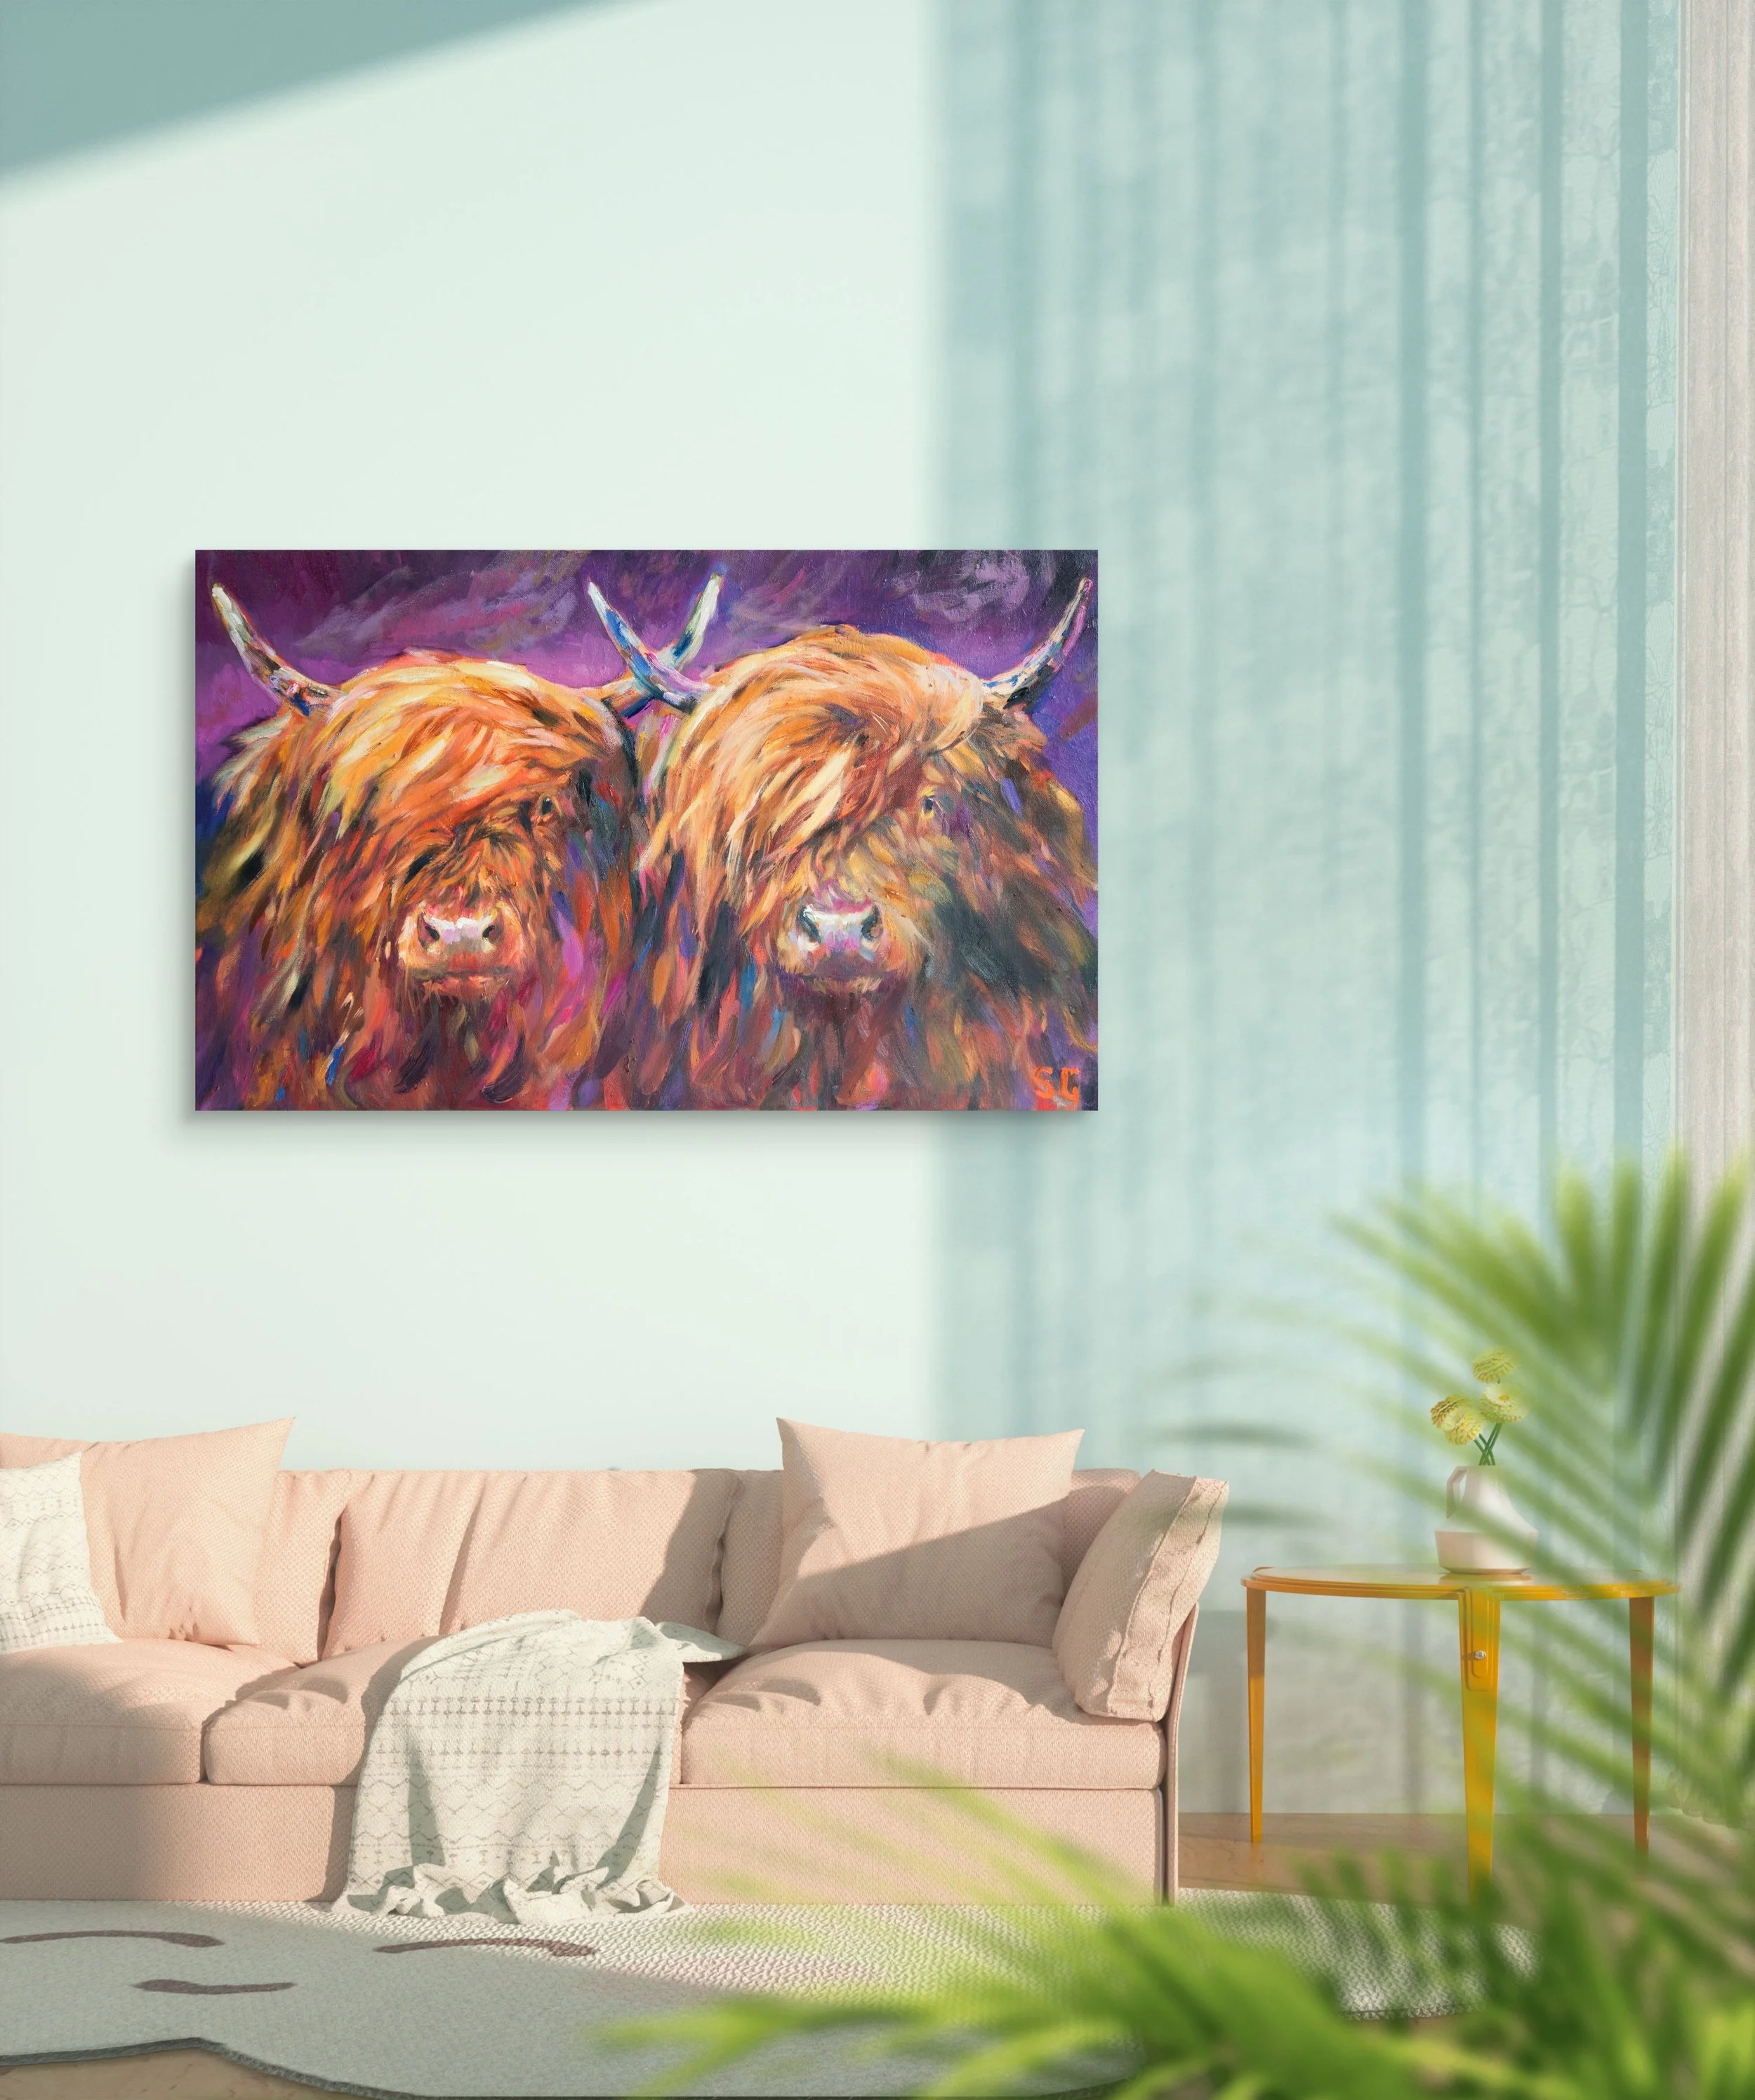
A Bespoke Canvas - Painting of Highland Cows
This project, a bespoke painting of highland cows, has been an absolute joy, inspired by another smaller painting that I made last year, with some differences and scaled up to a large size. This is painted on a custom-built canvas to a specific set of dimensions, sturdy and well-made, just like the Highland Cows!
Peek at work in progress on my new bird art series featuring expert aviators
New Bird Art
I have been looking forward to this series for a while. Aviation is a topic that I am transfixed by, and it is a thrill to get started.
A pair of cow paintings find a new home together this week
These two 50 x 60 cm pieces are travelling to Australia to a lovely new home .
Mixing greys - oil painting
I love making greys to use alongside the bright pure shades on my palette. Grey can be really quite beautiful, and they help to balance a painting. It is always useful to have some mixed ready to use so I mix mine before I start painting. I choose the main tube colours that I'm using and mix my grey from them. My intention is to have piles of mixed greys in a selection of values so that I have the correct value to hand.
This is a 45 x 35cm painting on canvas, in which I used lots of mixed greys for the shadows.
The most obvious way of mixing a grey is to mix black and white together. But there are better ways to create more vibrant and lovely greys. Mixing two complementary colours and a little white is effective, because complementary colours 'grey' each other down. You can quickly reduce the intensity of pure colours by adding a small amount of the opposite colour on the colour wheel. Or add a little of a mixed grey.
I like to mix greys from:
Viridian and Magenta/Alizarin Crimson + white
Ultramarine and Orange + white
Burnt Sienna and Prussian Blue + white
But there are lots of effective combinations, it is worth experimenting.
* Learn to Paint - join me at my workshops
Dalmatian Dog Portrait, Work in Progress
This piece is very nearly finished now. I have glazed the background in a few thin layers of Transparent Maroon (Winsor and Newton) and softened the edges on the shadow side of the dog. I like the warm effect. I have also altered the shape of his face slightly as I didnt have it quite wide enough after the first sketch and washes. I have to do a little work on his Right (our left) eye, and then he will be complete and ready to go on the wall.
'Donny' work in progress, final stages
Below is the reference photo that I took to work from for the Dalmatian painting. I cropped and adjusted the image in Photoshop first till I was happy with the composition.
Capturing a small dog's nose using oil paints.
This week I am beginning a large oil painting featuring five Shih Tzu dogs. The portrait is a commission, and it is the biggest group dog portrait I have attempted to date. I am excited about it! The models are adorable, and one of their recognizable features is this tiny little button nose that they all have.
I'm going to share a step-by-step account of how I paint these little dog's noses. Above is my reference photo for this painting.
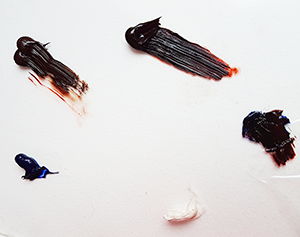
I chose these four oil paints for the exercise. There is one 'white' I prefer an off-white such as this Zinc Buff or Warm White as an easy way to avoid a chalky look. I also selected an Ultramarine Blue and a Transparent Maroon which I will mix to make a 'black', and a new Red Umber which I want to try.
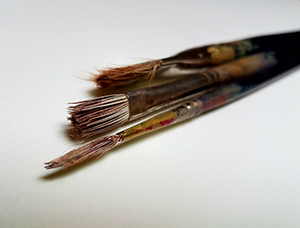
These are the 3 brushes that I used for this small piece. Bearing in mind that the whole canvas is only 20 x 25 cm, none of these brushes are very big. I used a 1/2" Eclipse Comber brush to lay in the first wash and the initial big shape. The middle size brush is an Ivory series 2 which I used to lay in the lighter tones. The thin brush that I placed the tiny highlights with with is an Eclipse Rigger size 0. You could easily manage the exercise with just the two smaller brushes if you needed to.
I am going to paint this dogs nose on a small canvas panel that I have to hand. The panel has been painted on previously so there is already some colour on the surface. I recycle my old boards when paintings don't work out (I have quite a stack of these panels now!). You can use any surface for the exercise, gessoed surface such as board, paper or card or a spare small canvas.
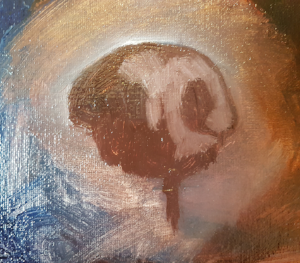
Start with a semicircular shape using a fairly dark colour. I chose the umber but, but any opaque colour would do. As this is a shape that will be painted over, use very little medium on this layer. (Thicker paint can be painted over with successive thinner layers.) The shape isn't perfectly symmetrical because the dog is looking to the side. Notice that the sides are not level, but don't worry too much about making it perfect at this stage.
Extend the nose shape downwards and draw in in the centre line, slightly off center to the right to indicate which way the dog is facing and where the light should fall.
Once the basic shape is down on the canvas, take a small brush full of the light colour and paint it directly onto the canvas over the brown, to indicate the areas where the most light falls. The dark and light colours will naturally mix a little on the canvas to create a mid-tone
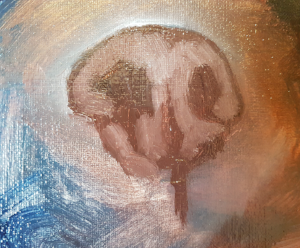
Add more of my light colour to light areas on the dog's nose and leave the areas in between. The structure of the dog's nose begins to appear. At this point I don't do very much blending or editing, that can be done a bit later on towards the end of the session. Don't examine your work too closely right now just keep painting!
Now for another layer of 'lights', laying the third layer in, using the white/off white paint. These are the lightest parts of the nose. The most prominent areas where the greatest amount of light hits the nose, once highlighted will really bring the feature to life. There are little shining highlights on tiny areas of moisture around the nose, and on miniscule hairs here and there. Use your very smallest brush for these.
Next add the darkest colour. I made mine by mixing my blue and the maroon. This makes a deep, rich and slightly transparent dark colour, much more vibrant and lively than a tube black would be. But you could use black, or any dark colour you have to define the nostril areas further and create a little shadow on the left side of the nose.
This particular dog has a white marking around his nose, so start to take the light colour outwards. We are adding the base colour for the dog's face, but also using the opportunity to correct and further define the outline shape of the nose, by painting over the edge with light colour where it is needed. Because the oil paint is so soft, it is easy to make small corrections like this.
Adding some of the light areas around the nose, filling in the large shape. Details can be added in later.
Here you can see that I have started to add some lines to describe the hair growth on the dog's top lip. This is only a rough placement to get the paint in place, and I will go back and 'scruff it up' a bit later, to make it look less harsh, more natural.
This is the first 'draft' finished. I went back in to 'scruff' up some of that light colour under the nose, by very lightly dragging my brush across horizontally twice. The wet oil paint easily blends and softens with just a couple of strokes of the brush. I will leave this painting now and let it dry overnight.
Tomorrow it will be dry enough to paint a second layer, because I have used liquin medium.

